

Today, I’m going to walk you through how to set up Moonlight on Steam Deck. If you aren’t sure what Moonlight is yet or why you should use it, don’t click away- Moonlight is a superb application for making the most of your Steam Deck’s game-streaming capabilities, even outside of Steam. Let’s get into it!
Table of Contents
What is Moonlight?
Moonlight is an open-source client for Nvidia’s GameStream technology. Nvidia GameStream requires an Nvidia desktop GPU on the host PC, and is meant to only use compatible Nvidia Shield devices as clients.
With Moonlight, you can turn your Steam Deck into an Nvidia GameStream-compatible client device while still utilizing GameStream’s superb stream quality and low-input-lag streaming.
Now if you’re an experienced Steam Deck user, this may sound a little extraneous. After all, the Deck’s use of Steam’s own game streaming (In-Home Streaming, also called Steam Link) technology is pretty good, and even works with non-Steam games you have added to Steam. The issue is, like with Steam’s actual non-Steam game compatibility on your desktop, is that Steam’s own streaming just doesn’t work as well with non-Steam games.
With Moonlight, it’s much easier to stream non-Steam games to your Deck. Even if you need to do some tweaks besides adding it to Nvidia GameStream on your desktop, Moonlight’s desktop control is seamless and will allow you to make things work that wouldn’t with the usual Deck game streaming. And in my own experience, I’ve had much better performance and input responsiveness on Moonlight compared to Steam Deck.
With all that established, let’s get into how to actually acquire Moonlight for your Steam Deck.
How To Download Moonlight on Steam Deck
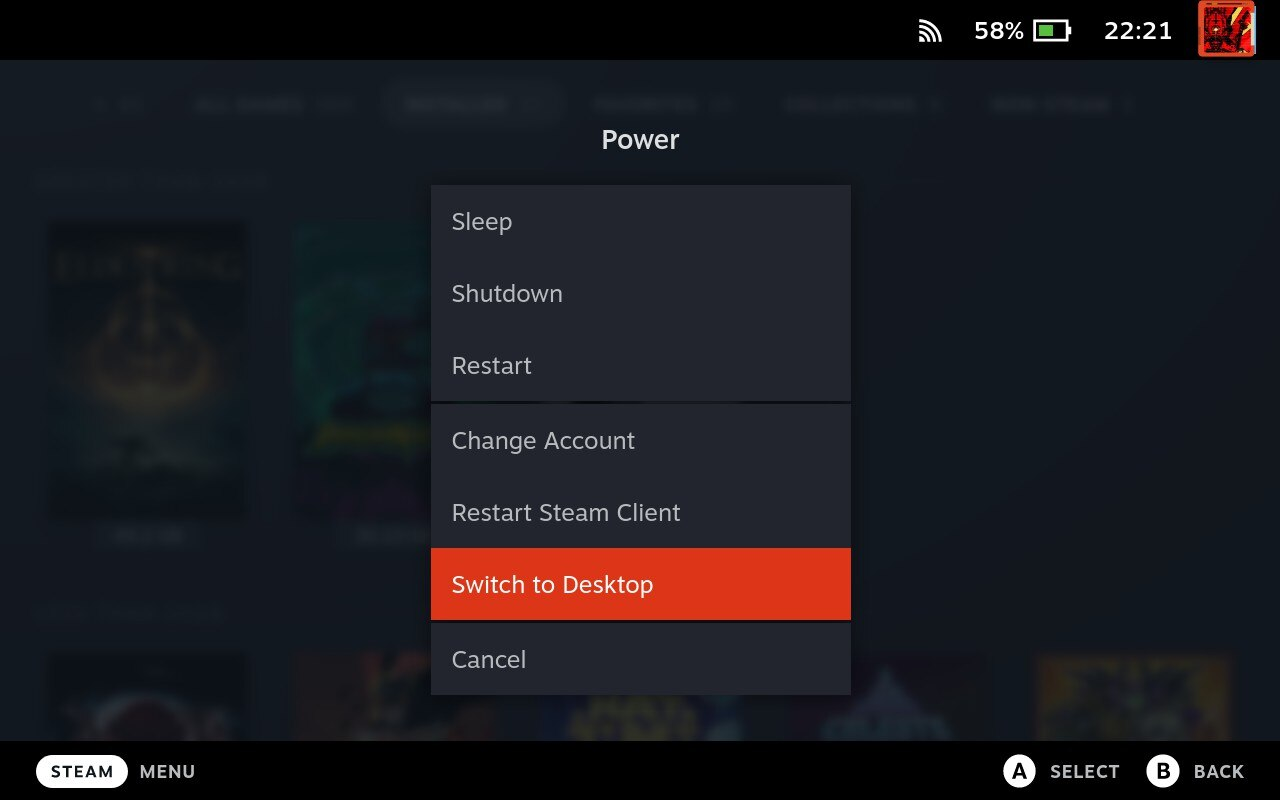
The first step is actually going to be holding your power button and selecting “Switch to Desktop”.
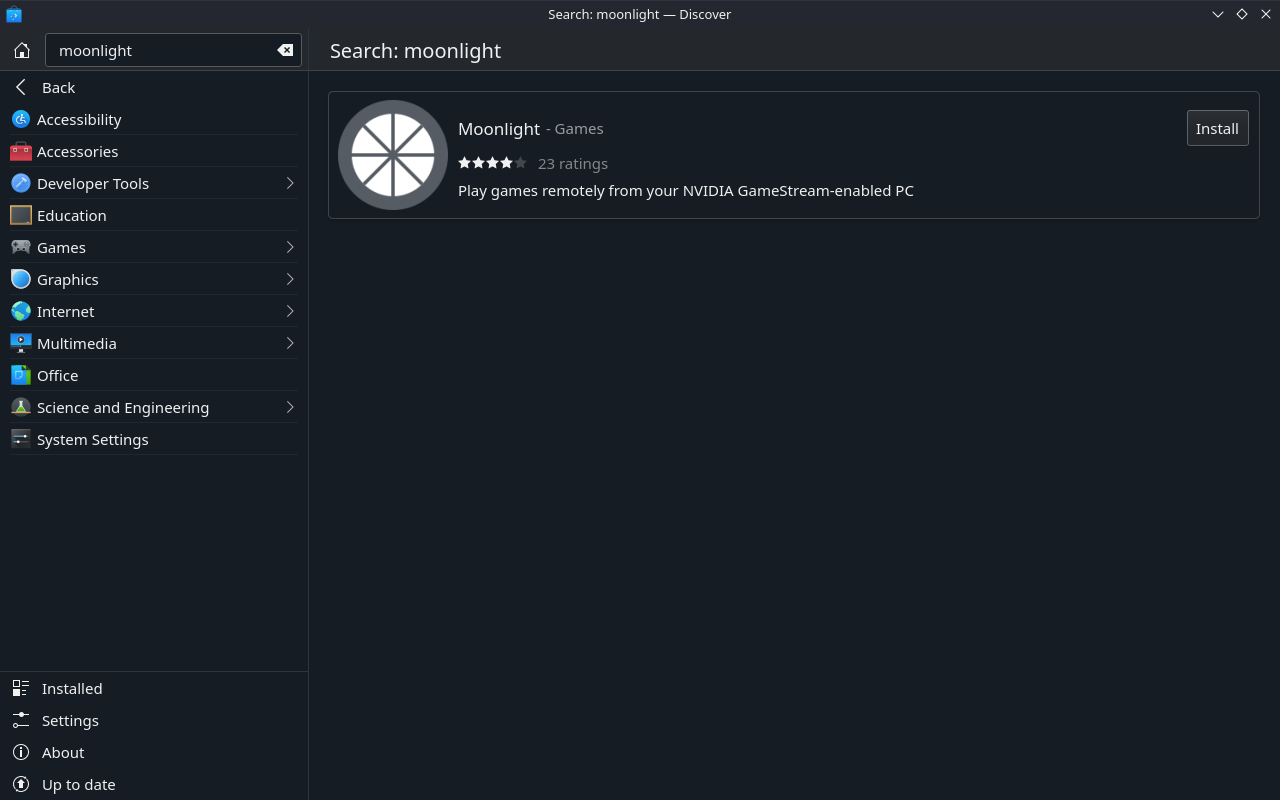
Once in Desktop Mode, you’ll want to open the built-in Discover app store and search for Moonlight. Click “Install”.
Congratulations- you now have Moonlight! But how do you get it working with Steam?
How To Add Non-Steam Games on Steam Deck
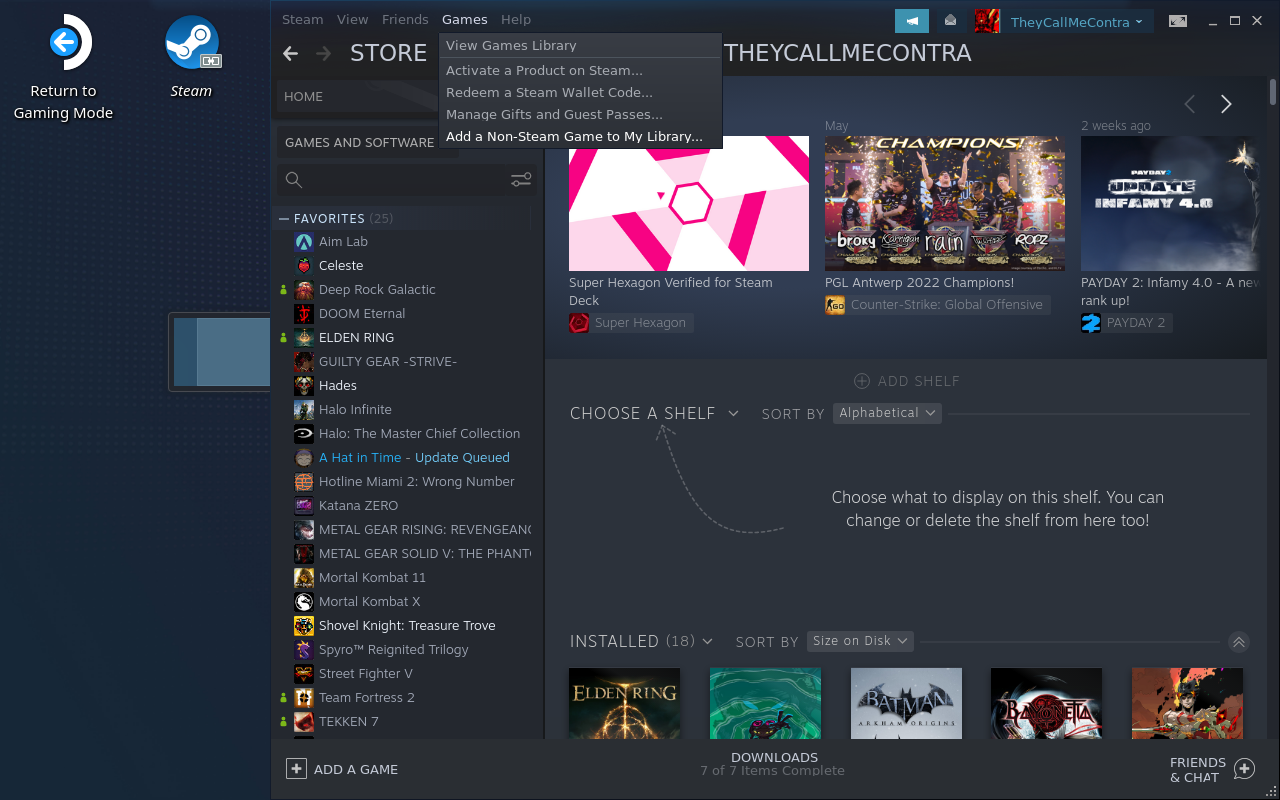
First thing’s first, you need to add Moonlight as a non-Steam game. This will allow you to use it back in your regular handheld mode instead of desktop mode. Open up Desktop Steam and select “Add a Non-Steam Game to My Library” under “Games”.
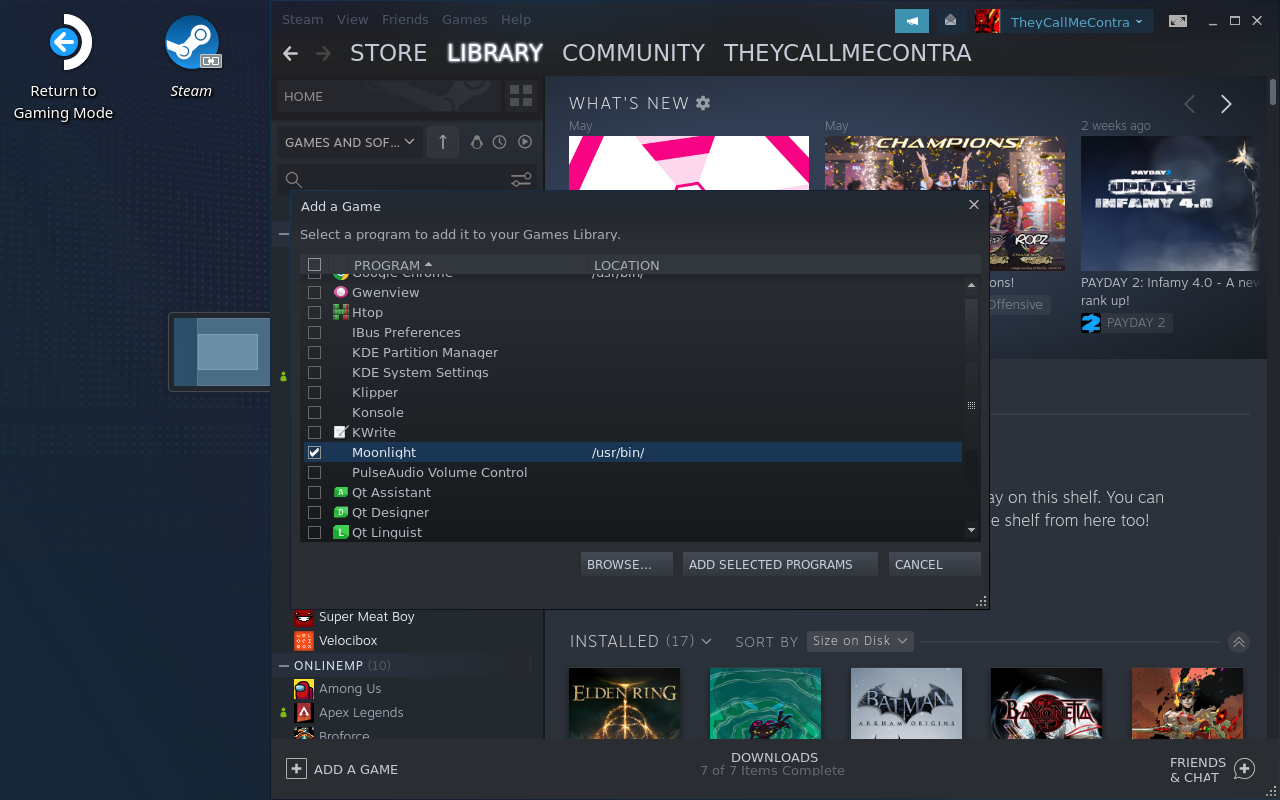
In the popup menu, identify Moonlight and then select Add Selected Programs.
Now, you can safely return to Game Mode. Use the “Return to Game Mode” shortcut on the Steam OS desktop in order to do this. After a short reboot, Moonlight will be ready to use on your Deck- but head to your PC for the final setup steps.
How To Set Up Moonlight on Your PC
As mentioned in the beginning of the article, Moonlight is an open source Nvidia GameStream client. This means using it will be limited to Nvidia GeForce Experience and compatible Nvidia GeForce graphics cards. To enable GameStream from your PC, you’ll need to open up GeForce Experience, then Settings, then Shield. Within that menu, activate the GameStream slider.

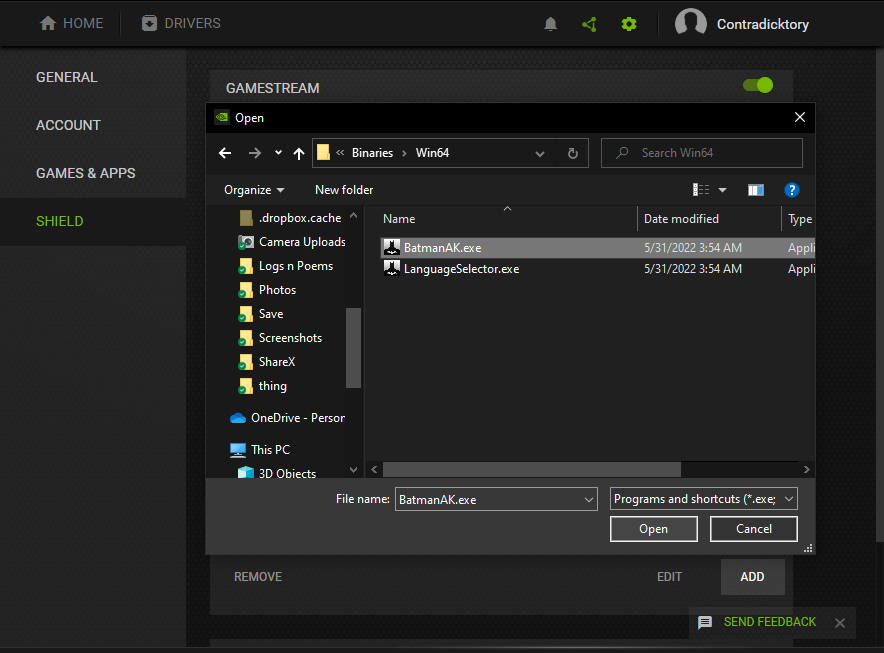
Once you’ve activated that Slider, any games that are already marked as GameStream-compatible by Nvidia will be available when you pull up Moonlight later. But if you want to be extra confident that your game shows up, or want to add something that GFE didn’t auto-add, go ahead and use the Add button and locate the .exe of your preferred game.
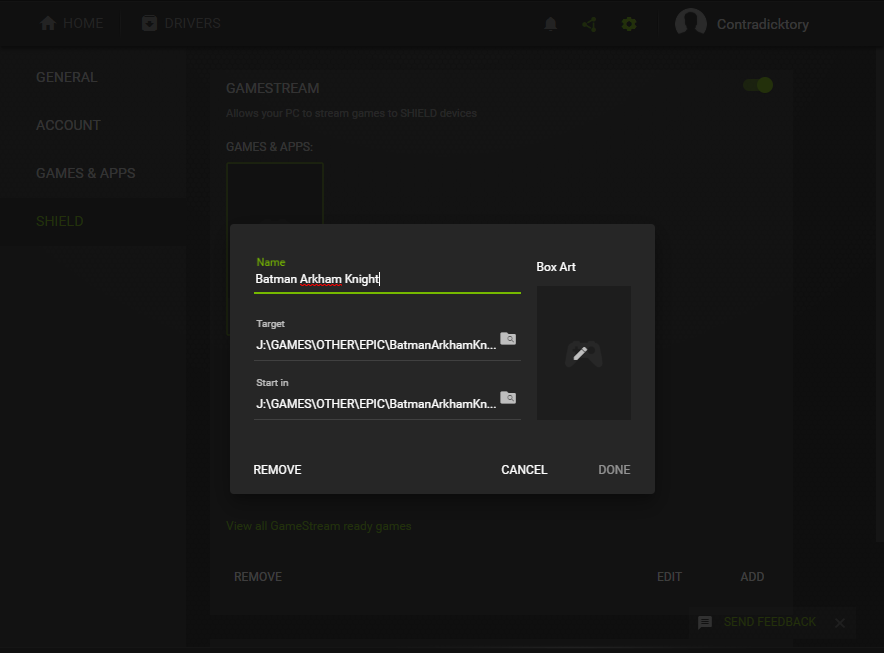
After adding the executable, you can also click the “Edit” button to change its listed name from just the executable’s title, as well as your own custom cover art. Below, I’ve added the proper title of Arkham Knight to my executable.
How To Configure Moonlight on Steam Deck
Once you’ve confirmed that GameStream is set up on your host PC and your games of choice are ready to stream, it’s time to get Moonlight up and running.
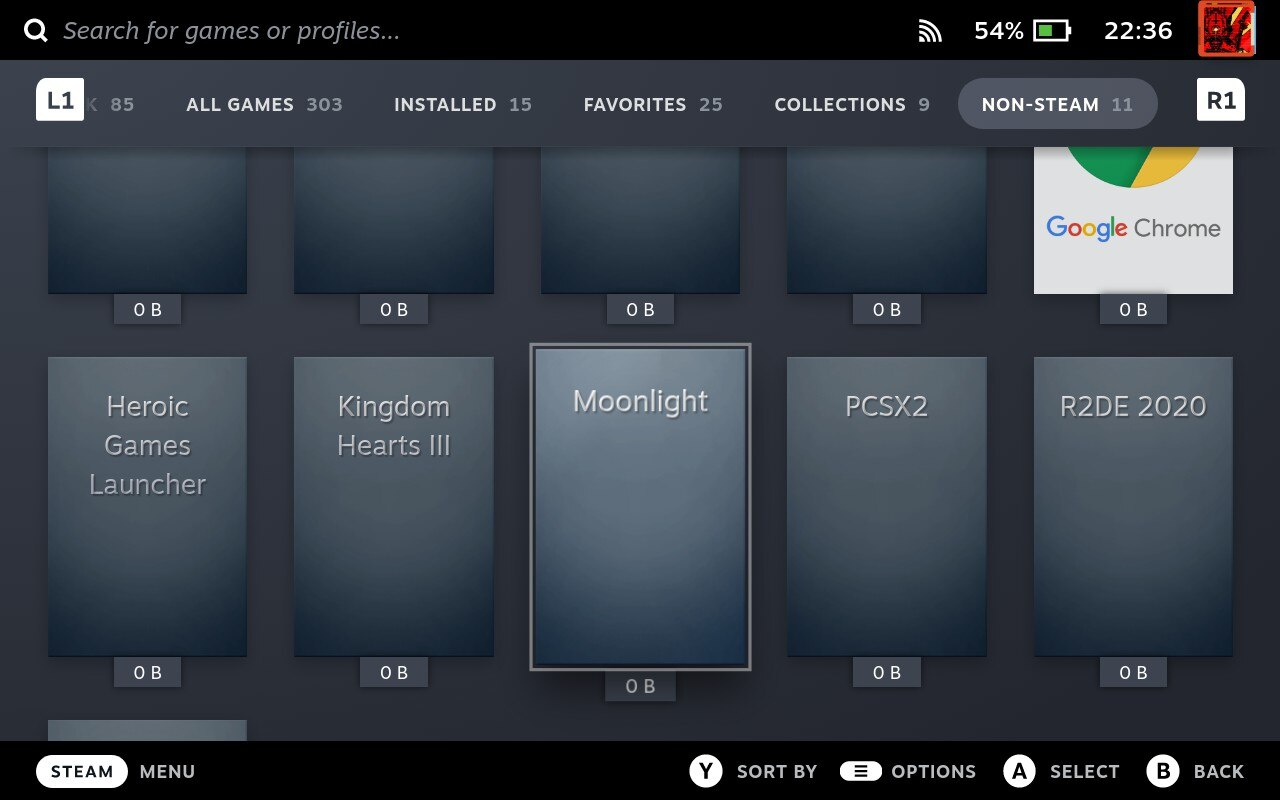
Back on your Steam Deck and regular portable mode, head to Non-Steam to find your Moonlight shortcut, and launch it.
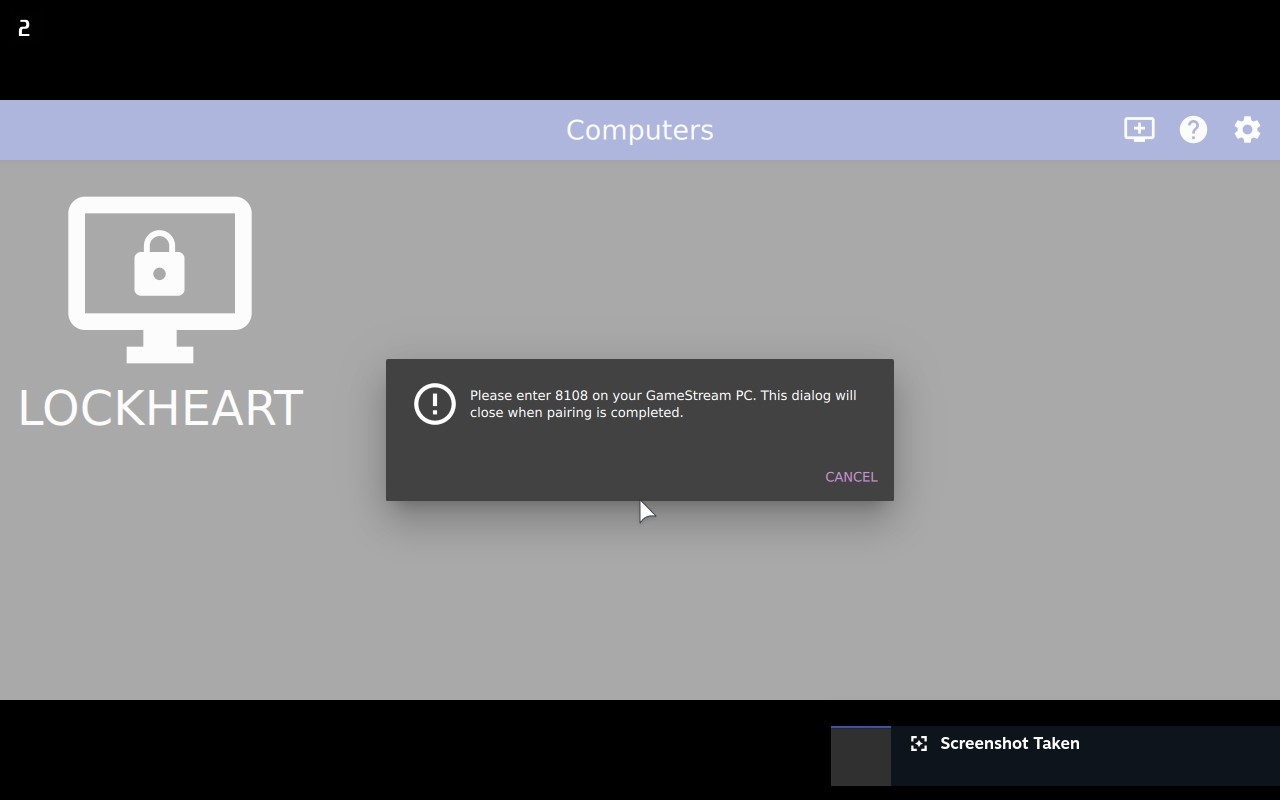
After launching Moonlight, it’ll automatically look for compatible client devices. Select your client device and enter the 4-digit pin it gives you in the popup to connect to that device.
Within the Moonlight menu, you’ll be met with a selection of games optimized for Nvidia GameStream, as well as any games you manually added. As you see below, I have a manual entry for Arkham Knight made earlier beside the auto-generated Arkham Knight entry. I have way more games installed on my PC than is being reflected in GameStream, so I’d recommend doing the manual addition if you want to confirm your game shows up.

In the top-right corner, there’s a Settings button you can activate to start tweaking with the performance of Moonlight. Below, I’ve embedded my own recommended settings for streaming to Steam Deck:

I recommend capping resolution and framerate to 720p and 60 FPS, respectively. The Steam Deck uses an 800p display, so going beyond 720p is generally overkill. However, upping the bitrate to around 40 Mbps has given me great results in input lag without hurting my image quality, so that’s where I keep it.
The built in V-Sync and Frame pacing options are essential, as well. Most other settings boil down to personal preference.
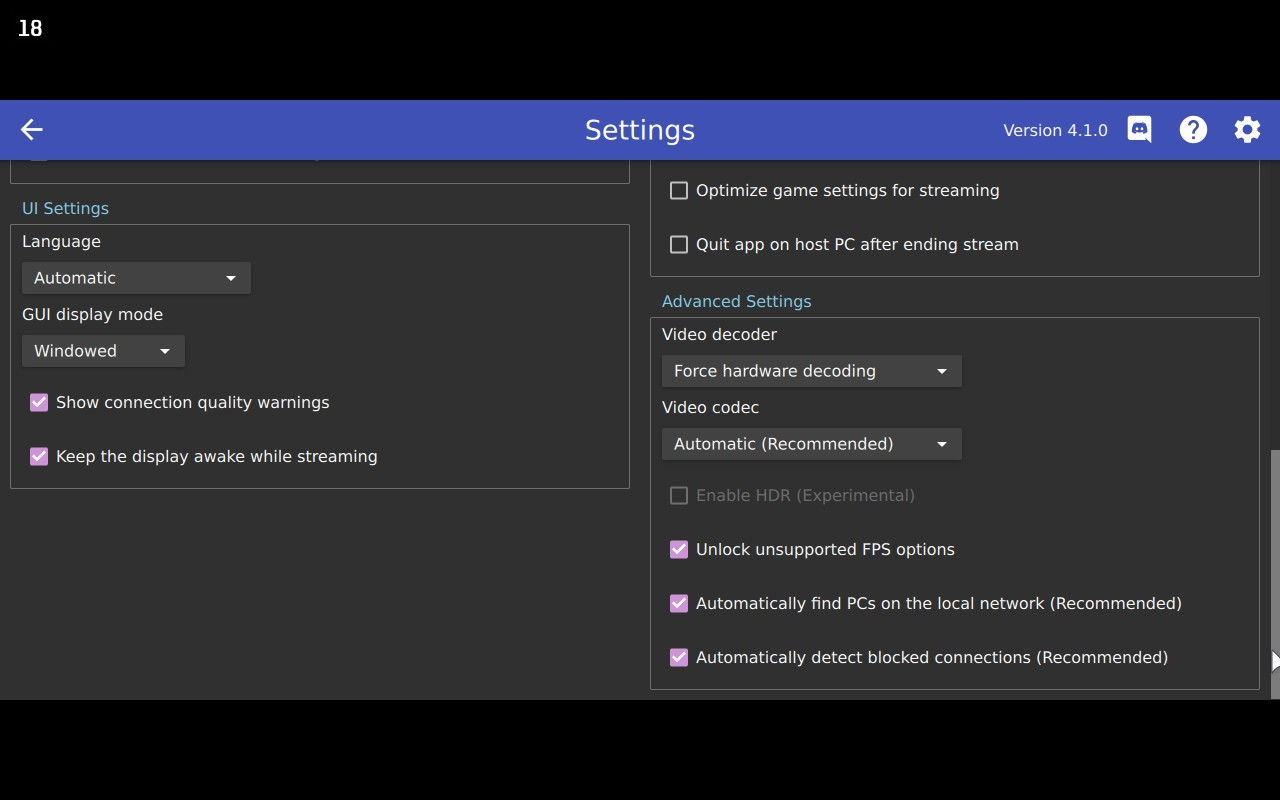
There are a few more interesting options as you scroll further down the list, but I’ve found that forcing hardware decoding and leaving video codec on “Automatic” rather than forcing h.265 or h.264 has given me the best results. Depending on your PC and your network, experimenting with these settings might be worthwhile.
In general, I would recommend against enabling settings like “Optimize game settings for streaming” and “Quit app on host PC after ending stream”.
The first will overwrite your settings on your PC, which you likely don’t want as a PC gamer. If you need to adjust any in-game settings during the stream itself, just turning down your resolution to match the 720p stream will fix any issues, if they arise.
Also, while “Quit app on host PC after ending stream” SOUNDS nice, you should generally be closing your games of your own volition. And sometimes, you may experience a stream freeze and need to quickly pause and relaunch Moonlight to get back into the game as soon as possible.
If this ever happens to you, use the Start+Select+RB+LB button combination to quickly close Moonlight. After relaunching, you should be seamlessly tossed back into your game as you left it- but you may want to consider changing stream settings if it happens more than once, or happens frequently.
Parting Words
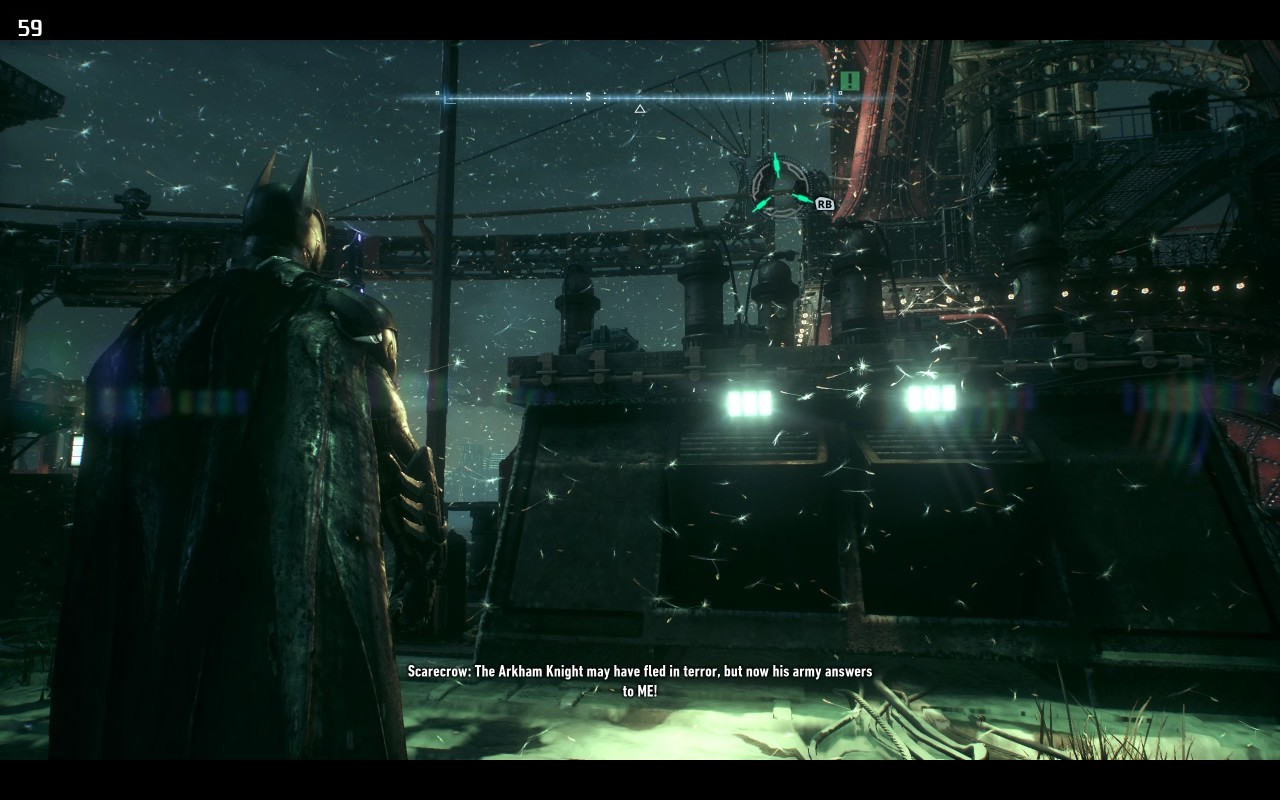
Batman: Arkham Knight running flawlessly at high settings on my PC…streamed to my Steam Deck. Even with all the particles onscreen, the video quality and input latency stay clear and low, respectively.
And that’s it! You have Moonlight up and running on your Steam Deck now, if you followed this article properly. Now, all that’s left to do is get to playing your favorite non-Steam games with all the power of your desktop PC in the palm of your hands.
If you want help configuring games that are actually being run on your Steam Deck, consider heading over to my Steam Deck Settings Guide for a detailed look at the Deck’s built-in Performance Tweaks Overlay.
Until then or until next time, happy gaming! And be sure to share this article if it helped!